Oceanology NextGen - Brushify Integration
Integrate Brushify landscape materials with Oceanology NextGen while preserving shore waves, foam, and depth blending.
Prerequisites
| Requirement | Details |
|---|---|
| Engine | UE5.x (latest release) |
| Plugin | Oceanology NextGen installed and configured |
| Plugin | Brushify installed and configured |
| Scene | Landscape actor with Brushify automaterial applied |
| Knowledge | Basic understanding of Material Editor and RVT |
When you apply a Brushify automaterial to your landscape, it replaces the default landscape material. If the Runtime Virtual Texture is not properly configured with Oceanology, shore waves may break at the map edges instead of the coastline, and foam may appear everywhere underwater.
The Problem
When using Brushify automaterials with Oceanology NextGen, you may experience:
| Symptom | Cause |
|---|---|
| Shore waves break at map edges instead of the coastline | RVT not properly configured between Brushify and Oceanology |
| Foam covers the entire underwater landscape | No depth data for foam masking |
| No shoreline blending or depth coloring | RVT heightmap not receiving terrain elevation |
| Breaking waves appear in wrong locations | Oceanology cannot detect where the shore is |
Step-by-step
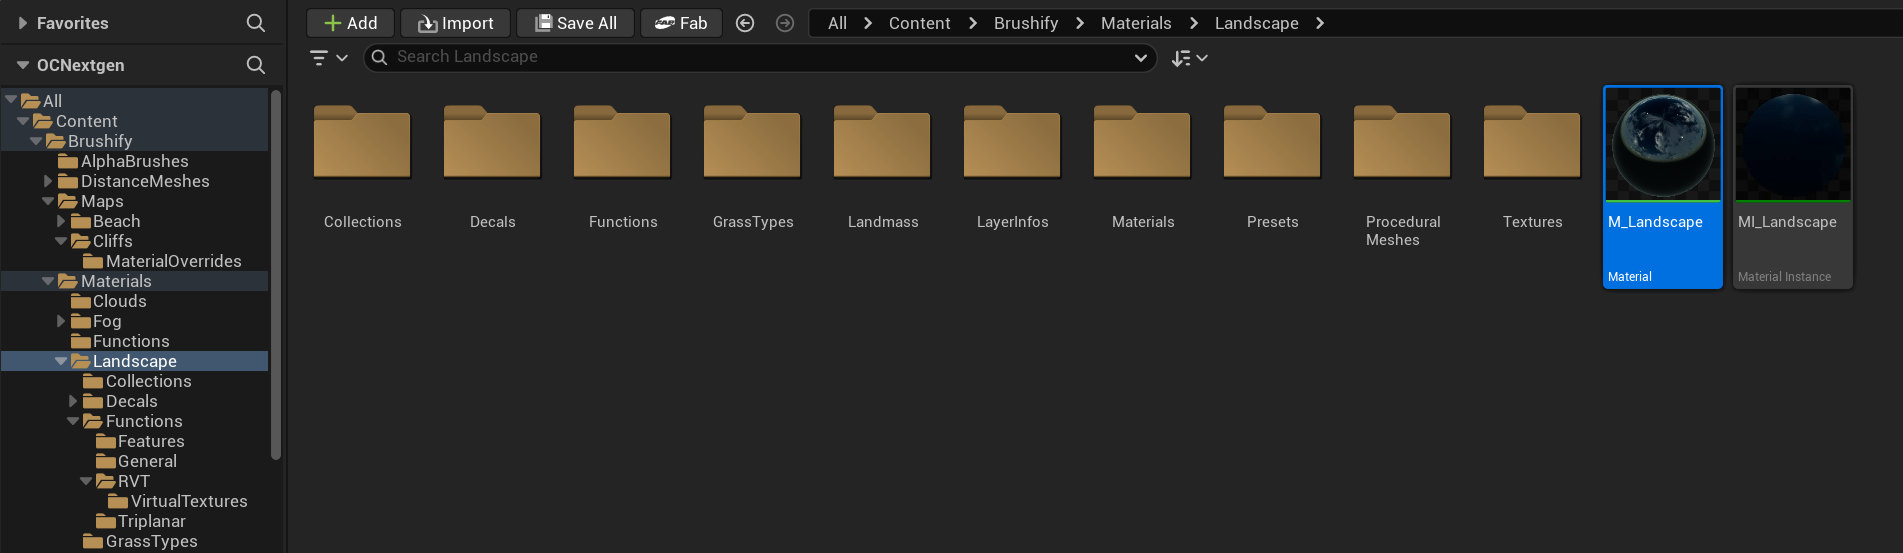
In the Content Browser, navigate to Brushify > Materials > Landscape. You will find the M_Landscape material here.
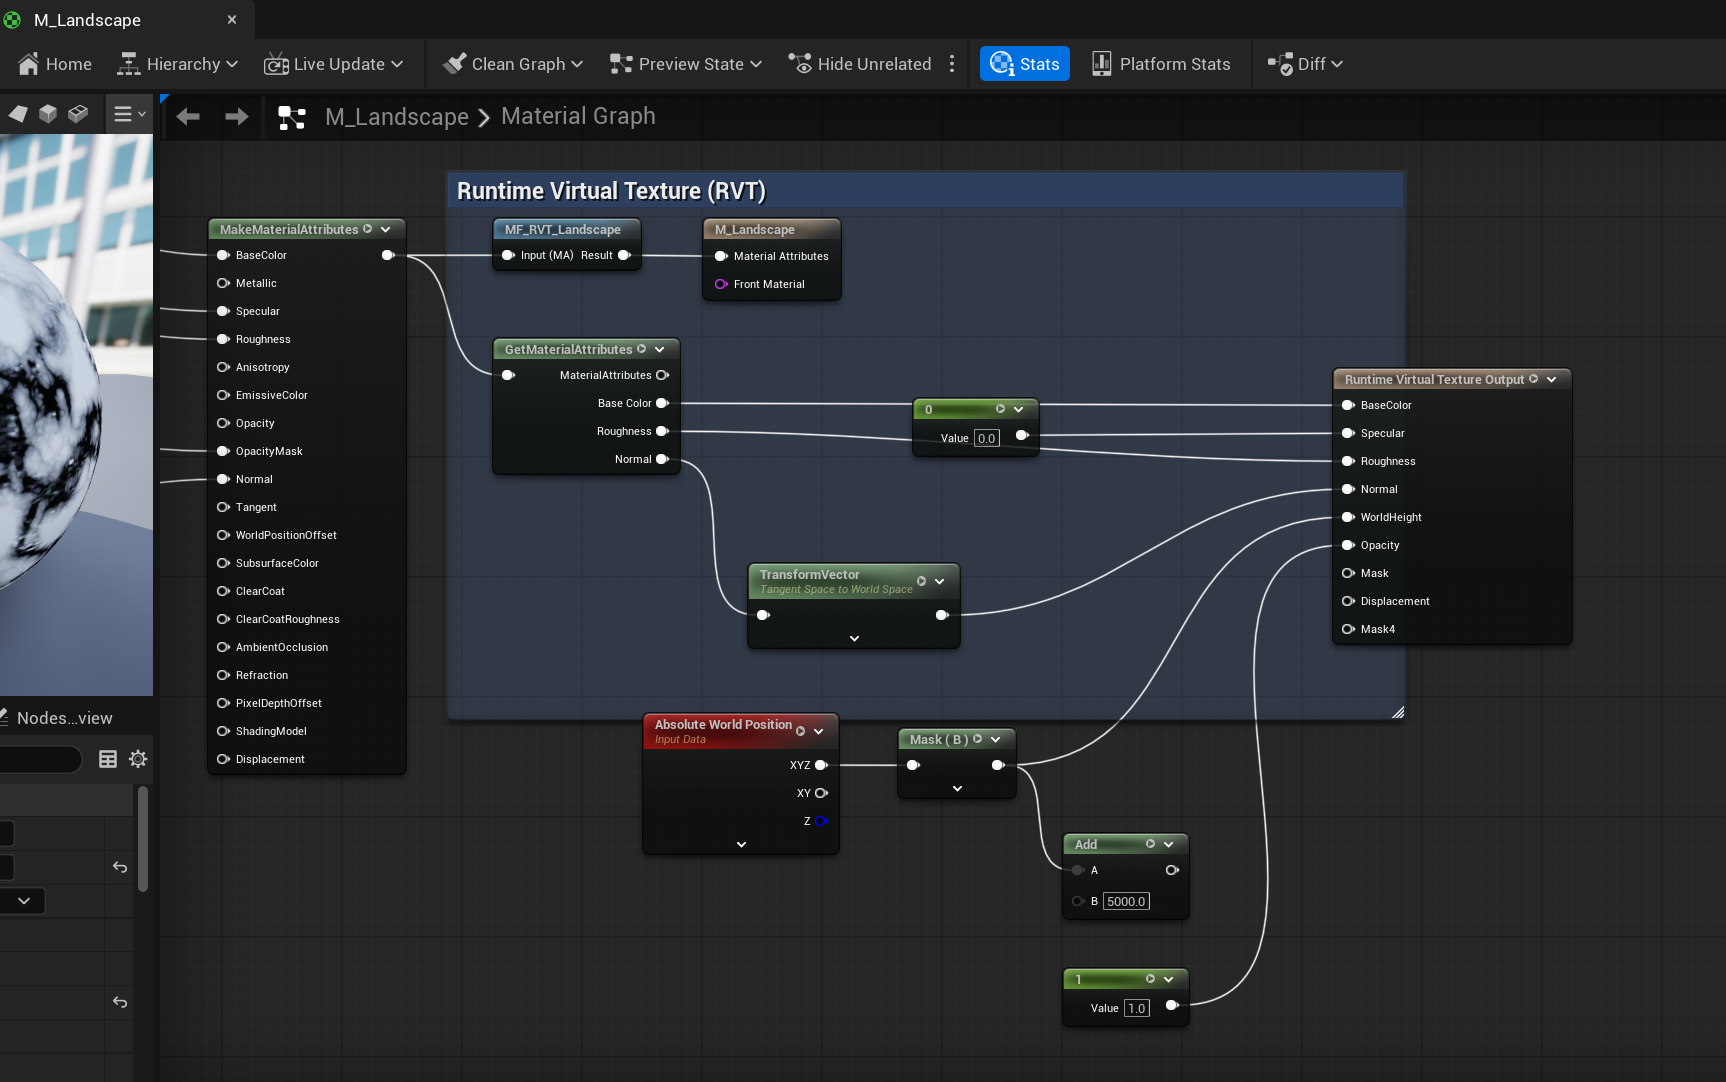
Open M_Landscape in the Material Editor. Brushify already includes a Runtime Virtual Texture (RVT) section in the material graph. Verify that the RVT Output node is properly connected with BaseColor, Roughness, Normal, and the Absolute World Position feeding into the height data.
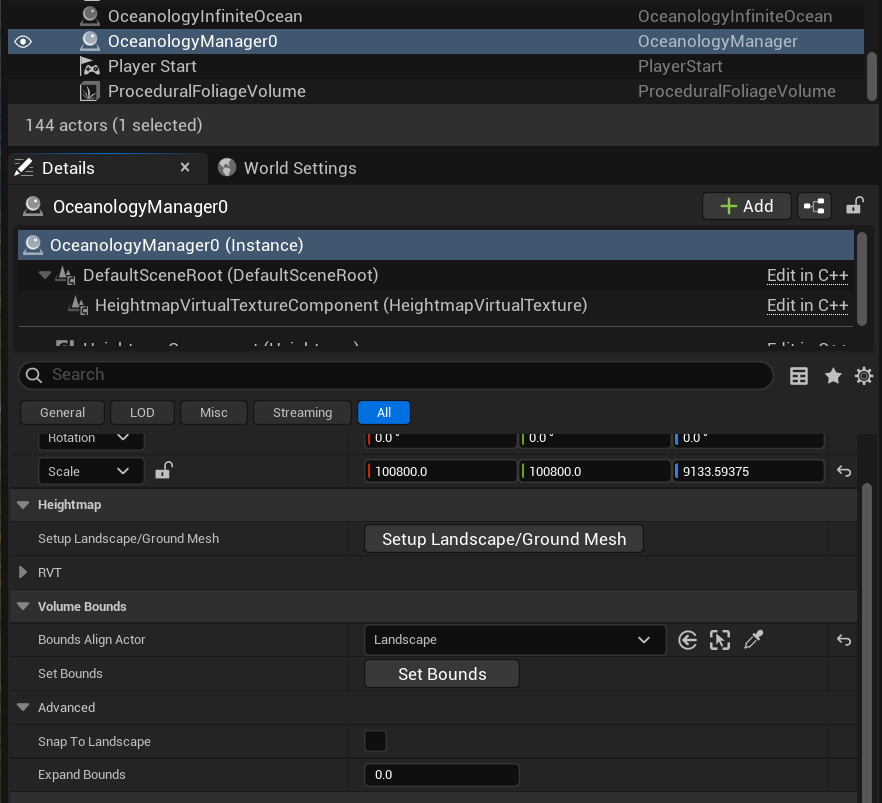
Select the OceanologyManagerD actor in your level. In the Details panel, find the HeightmapVirtualTextureComponent and click "Setup Landscape/Ground Mesh" followed by "Set Bounds" to capture the terrain heightmap data.
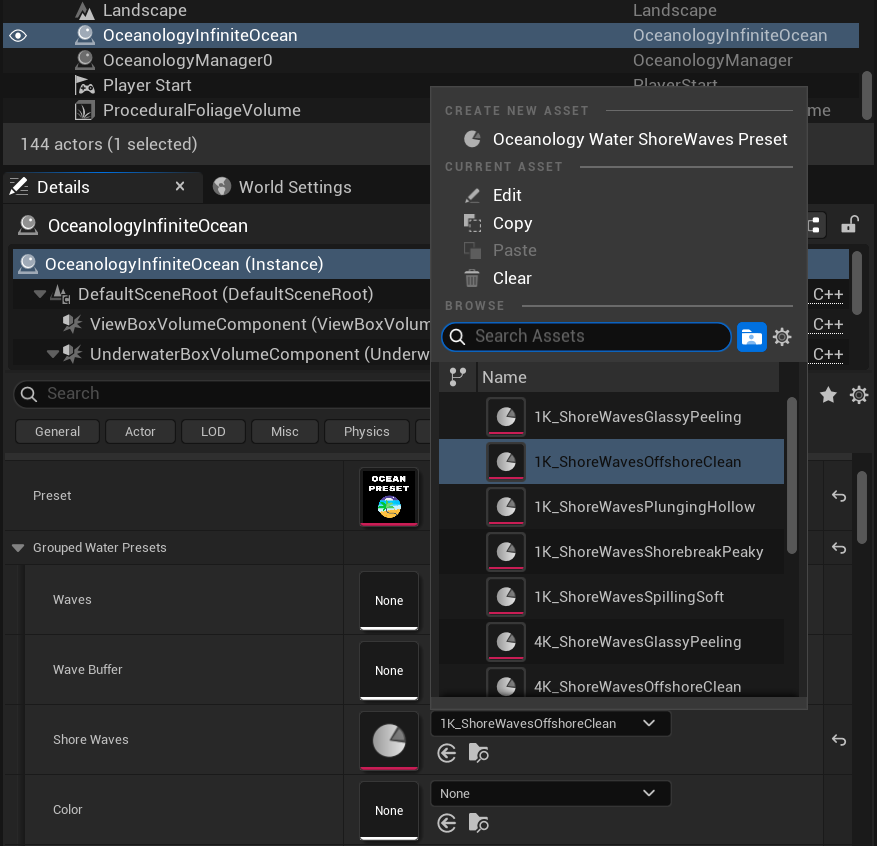
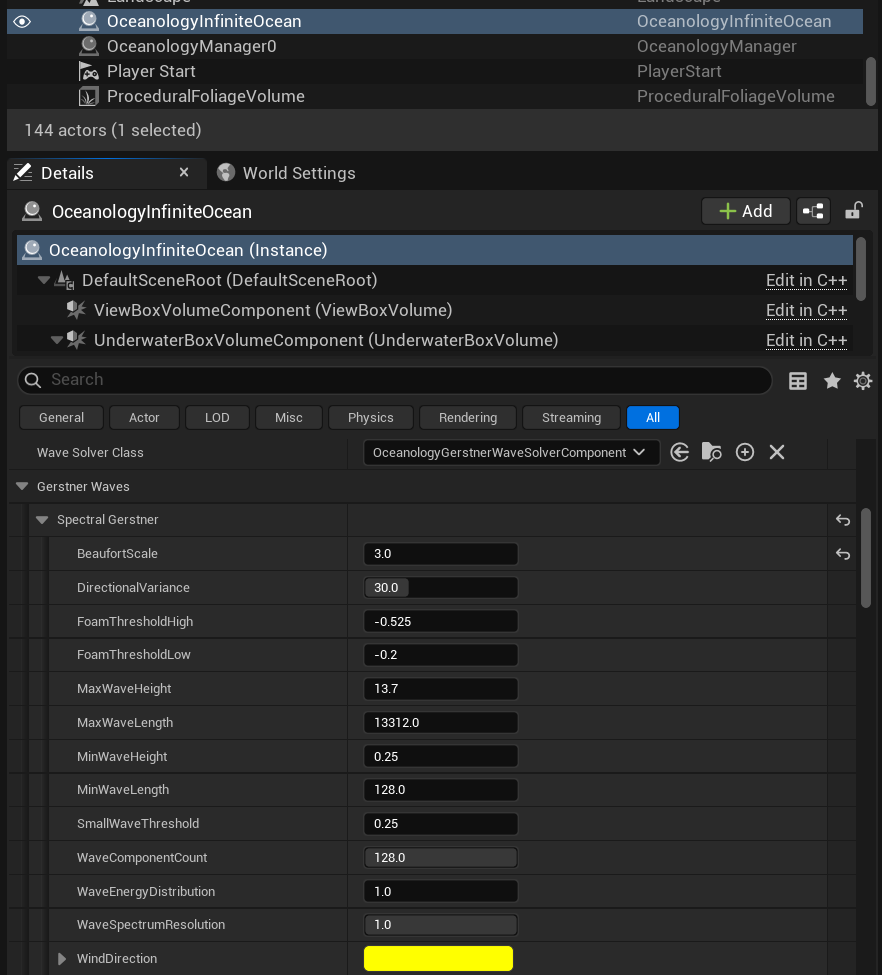
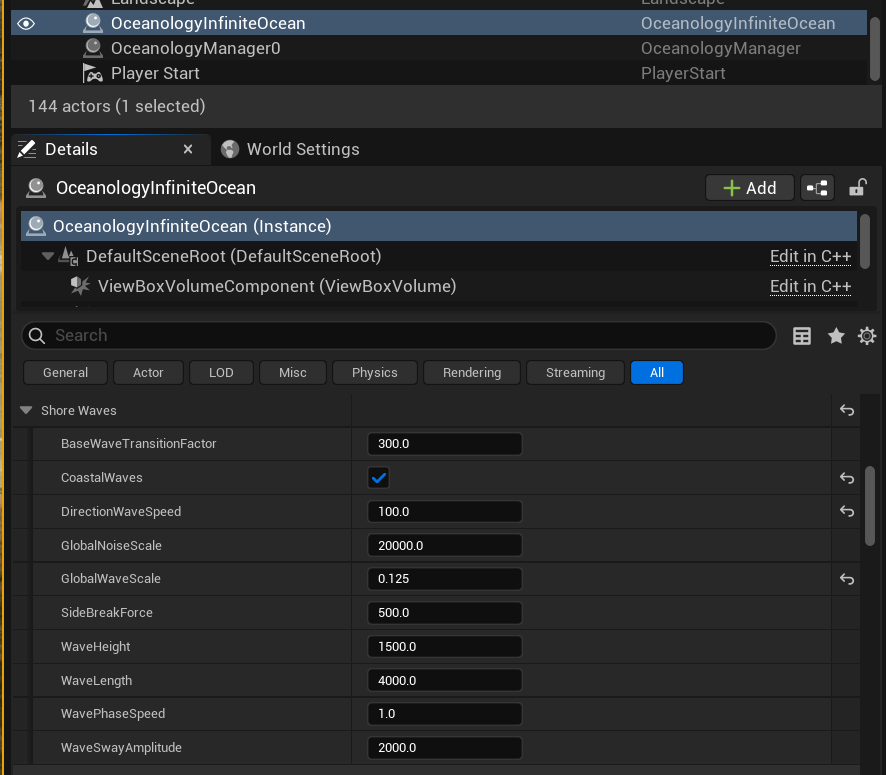
Select the OceanologyInfiniteOcean actor and navigate to the Shore Waves section. Choose a Shore Waves Preset that fits your scene from the available options.
Still on the OceanologyInfiniteOcean actor, find the UnderwaterBoxVolumeComponent section and adjust the underwater rendering parameters to match your scene requirements.
Navigate to the DefaultRiverRoot section on the Ocean actor and configure the VoxelBoxVolume component settings for proper water volume detection.
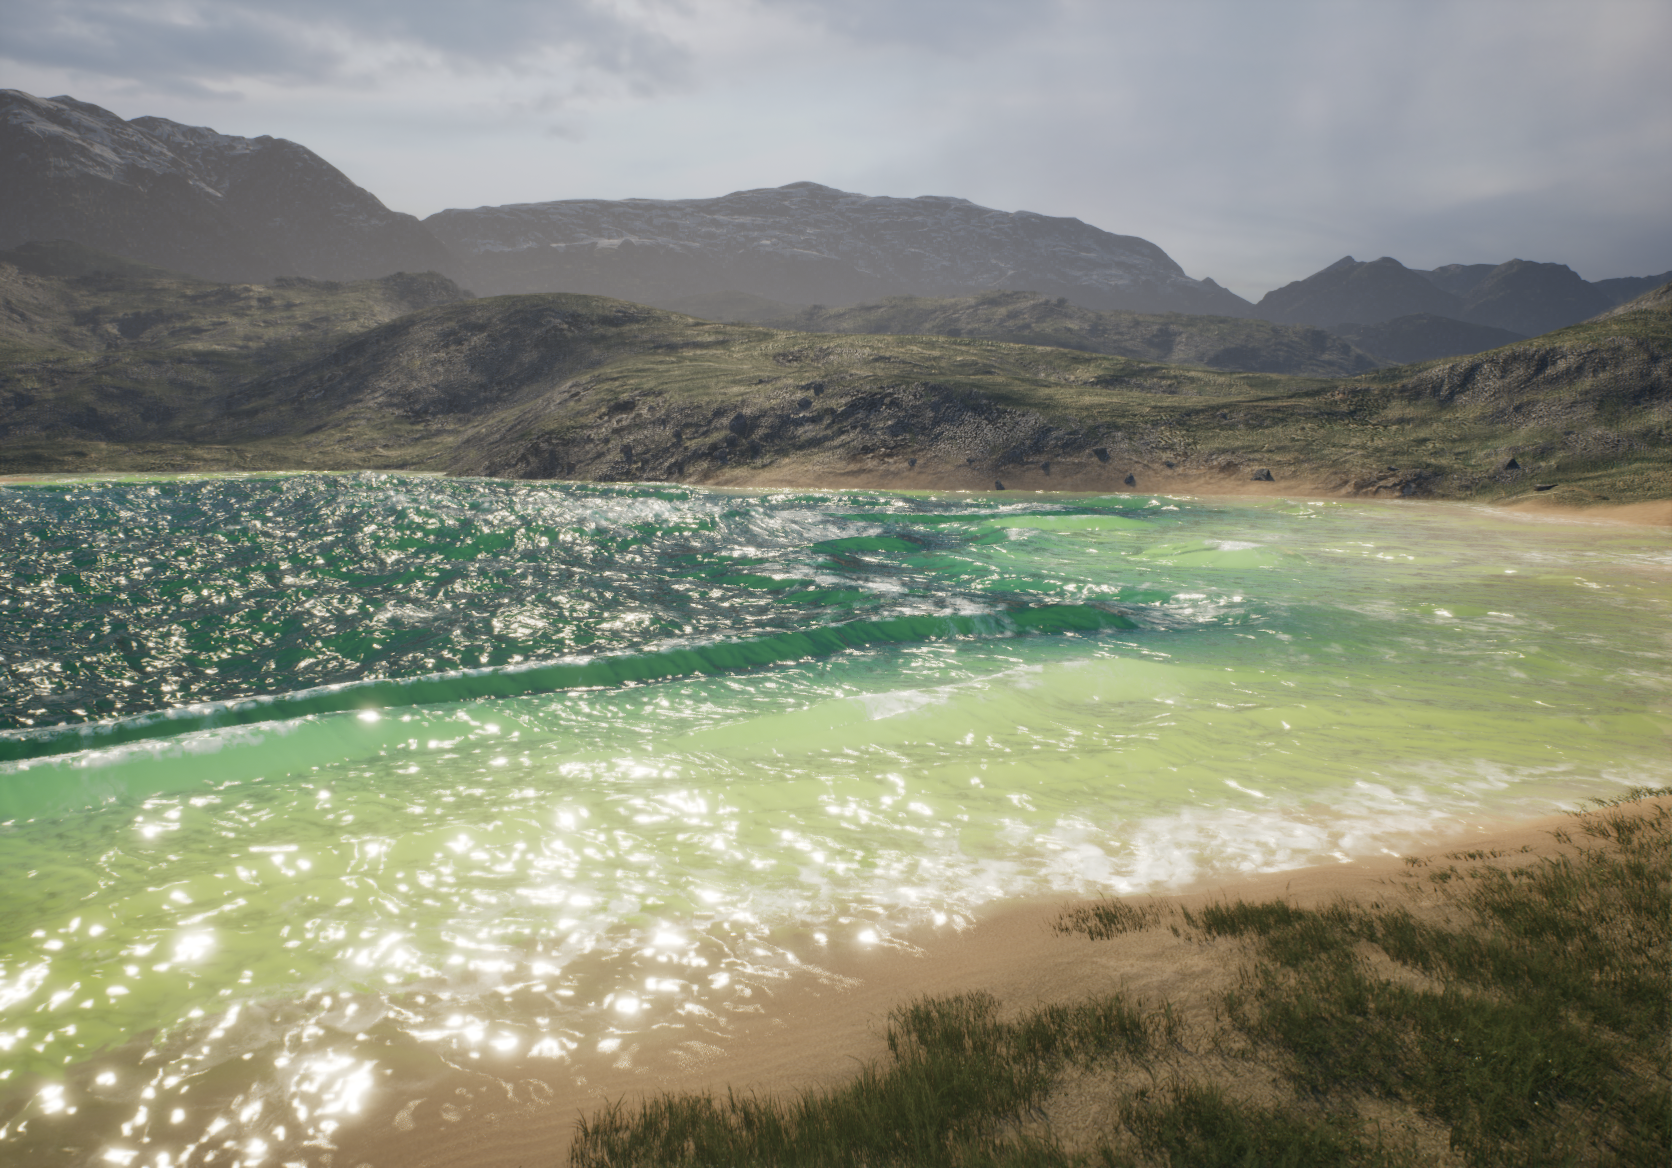
Enter Play mode and verify that shore waves break correctly at the coastline with the Brushify landscape materials applied.
Troubleshooting
| Problem | Likely Cause | Solution |
|---|---|---|
| Shore waves still break at map edges | RVT not properly configured | Re-run "Setup Landscape/Ground Mesh" and "Set Bounds" on the Manager |
| Foam everywhere underwater | Heightmap not captured correctly | Verify the HeightmapVirtualTextureComponent bounds cover your landscape |
| No change after material edit | Material not saved/compiled | Save and compile the material, restart the editor if needed |
| RVT heightmap appears blank | RVT Volume missing or too small | Add/resize Runtime Virtual Texture Volume to cover landscape |
| Incorrect depth at certain areas | RVT asset mismatch | Ensure material and Ocean actor reference the same RVT asset |
| Performance drop after RVT setup | RVT resolution too high | Reduce virtual texture resolution in Project Settings > Rendering |
Summary
In this guide, you learned how to:
- Locate the Brushify material - Find M_Landscape in the Brushify content folder.
- Verify the RVT setup - Brushify already includes RVT nodes in the material graph.
- Configure the Manager - Use Setup Landscape/Ground Mesh and Set Bounds to capture heightmap data.
- Set up Shore Waves - Choose the right Shore Waves Preset for your scene.
- Configure underwater and volume settings - Adjust UnderwaterBoxVolume and VoxelBoxVolume.
- Verify the result - Confirm shore waves, foam, and depth blending work correctly with Brushify.